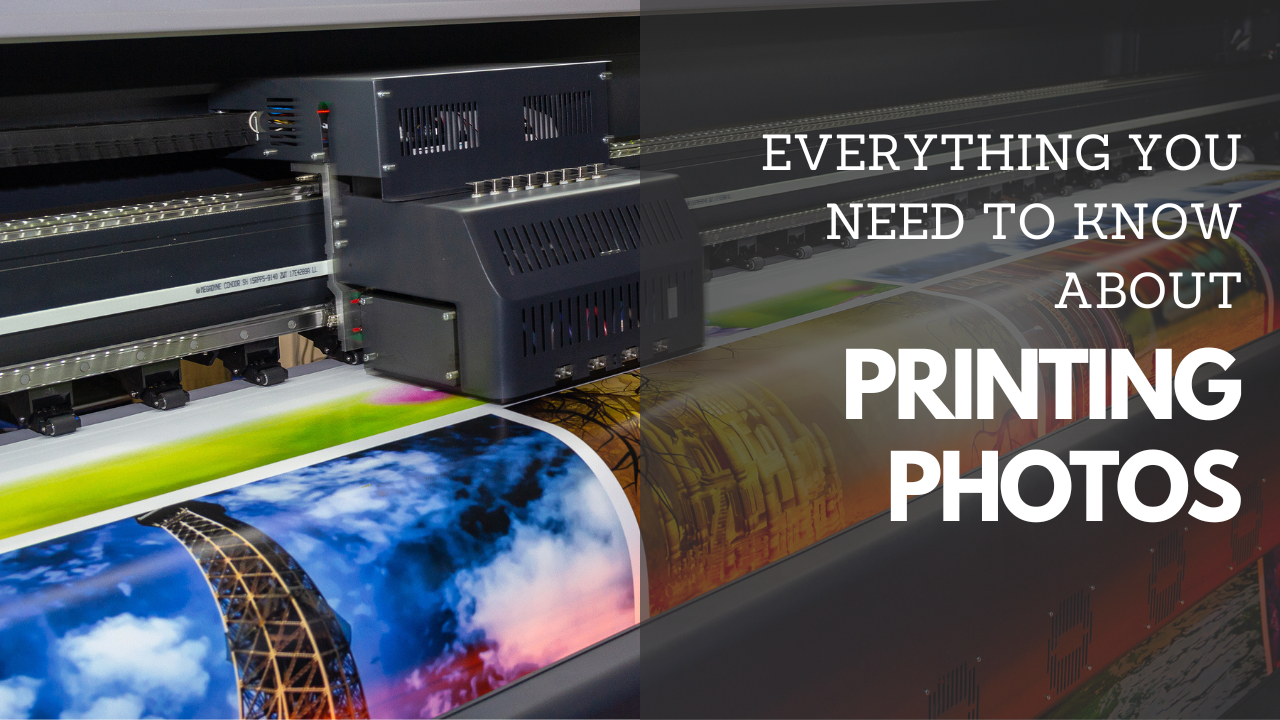
What Every Photographer Needs to Know About Printing Photos
Are you ready to take your photography to the next level and showcase your stunning images in galleries or sell them as framed pieces? Then it's time to take a closer look at the equipment, paper, and frames you use to print your photographs. Whether you're setting up your own printing centre or working with a professional service, mastering the art of printing is essential to creating truly breathtaking photos. Learn the tricks of the trade and take the first step towards turning your passion into a successful art form. Don't settle for just good photographs, make them truly wow-worthy with the right printing techniques and equipment.
How to Choose a Photography Printer
When choosing a printer for your photography, it's important to consider the type of printer and the quality of the paper you'll be using. High-end "near-dedicated" inkjet printers are the most professional choice for photographers looking to display their work in galleries or sell them for framing. These types of printers are able to reproduce the details of your photographs with great accuracy.
A near-dedicated photo printer is a type of inkjet printer that is specifically designed for high-quality photographic printing. These printers have a wide range of features and capabilities that are tailored to the needs of photographers, such as the ability to print in a variety of sizes and formats, support for high-resolution printing, and the use of specialized inks and papers.
A near-dedicated photo printer is also often compatible with photo editing software like Lightroom and Photoshop, making them a popular choice for professional and hobbyist photographers alike. Unlike photo dedicated printers which mostly focus on small album-size photographs and have some basic function for grandpa to plug in his camera and choose sizes and borders from the device itself (rather than from your computer) which can be restrictive for ambitious and artful photographers.
It's best to avoid "photo-dedicated" printers, as these are typically geared towards smaller album-sized photographs and may not offer the same level of control or options as "near-dedicated" printers. Instead, look for "fine art photography" printers that can handle larger documents and offer a wide range of paper options, including fine art papers. This will allow you to experiment with different textures and create more dynamic, visually interesting prints.
The basic rules of image size and resolutions for printing.
When it comes to printing your photographs, it's important to understand the basic rules of image size and resolution. First, make sure your printer is capable of high-resolution printing, at least 1200 dpi (dots per inch) is recommended for high-end inkjet printers. This will ensure that your printed image will have the most details and that the printer has enough information from the original file to make it look its best.
Next, when resizing or cropping your image to fit your paper or frame, be sure to keep the original aspect ratio of the photograph. This means that if you are reducing the width of a portrait to make it a square, you will also need to reduce the height to avoid stretching or squeezing the image. Finally, keep in mind that larger images will require larger file sizes, so be sure to save your image at the highest resolution possible to ensure the best quality print.
Managing colour quality when printing
When you take pictures, your camera might have a setting called "colour profile." This setting controls how the colours in your pictures look. If you haven't changed it, it might be set to "sRGB." This is okay, but you can get more detail and depth in your pictures if you change it to "Adobe RGB." If you're using a program on your computer called "Lightroom" or "Photoshop," you might also be able to use a setting called "Photoshop RGB." This can make your pictures look even better, but sometimes it can make the colours too bright.
When you take pictures in a format called "RAW," your computer doesn't know what colour profile to use until you "render" or process the picture. It's a good idea to choose "Adobe RGB" unless you want to do something special with the colours.
Saving files for printing
When it comes to saving a photo for printing, the best way to ensure high-quality results is to save the image in a lossless format such as TIFF or PNG. These formats allow for the preservation of all the data in the original image, resulting in a print that is true to the original. If you need to save the image in a smaller file size, you can use JPEG format, but keep in mind that this format uses compression which can result in the loss of some details in the image.
Additionally, it is important to make sure the resolution of the image is high enough for the size you want to print it, generally, 300 dpi is a good standard. And, if you are working with a large format, make sure your image has the right aspect ratio, so you don't have to cut any important details.
Setting up your printer
Once you have the printer connected, you will want to make sure that your computer and printer are communicating properly by installing the necessary software and drivers. Once the software is installed, you will want to adjust your printer settings to match the type of photo you are printing, such as size, resolution, and colour profile. Finally, you will want to experiment with different types of photo paper and make sure that your printer is calibrated correctly to ensure that the colours in your print match the colours on your computer screen. By following these steps, you will be able to set up a dedicated photo printer that will produce high-quality prints that are true to the original.
Printing from Lightroom
Printing from Lightroom is a great way to ensure that your photos come out exactly as you envision them. Lightroom is a powerful editing software that allows you to make adjustments to your photos such as colour correction, crop, and exposure. Once you've made your adjustments, you can then print your photos directly from Lightroom by selecting the "print" option.
Lightroom also allows you to choose between different print sizes, paper types, and printer settings, so you can get the perfect print every time. Additionally, Lightroom has a feature called the "Print Module" that makes the printing process even more intuitive, by allowing you to preview how your print will look and make adjustments as needed. With Lightroom, you can easily print high-quality photos that accurately reflect your creative vision.
The right photo paper
Choosing the right paper for your photographic prints is an important step in ensuring that your images look their best. The best paper for photographic prints is typically a high-quality, acid-free paper that is specifically designed for use with inkjet printers. This type of paper will provide a high level of detail, vibrant colours, and a long-lasting print that will stand up to the test of time.
Some popular options include glossy, matte, and fine art papers, each of which offers its own unique set of benefits. When choosing a paper, it's important to consider factors such as weight, thickness, and texture, as well as the intended use of the print (ex. framing, photo album, etc.). Ultimately, the best paper for you will depend on your personal preferences and the specific needs of your project.
When choosing paper for your photographic prints, one of the most important decisions to make is the finish of the paper. The three most popular finishes are glossy, matte, and fine art papers.
Glossy papers have a shiny finish and are great for reproducing vibrant colours and sharp details.
Matte papers have a duller finish and are good for reproducing more muted colours and a softer look.
Fine art papers, on the other hand, are designed for creating high-quality, long-lasting prints. They are often made of 100% cotton rag and have a textured surface that can create a more traditional, art-like look.
The choice of paper finish depends on personal preference and the type of image you are printing. Generally, glossy papers are used for images that have high contrast and bright colours, while matte papers are used for images that have more subdued colours. Fine art papers are used when the image is intended to have a more traditional and artful look.
My favourite paper is the Epson Cold Press Natural
Framing your photographs
When it comes to framing your printed photographs, there are a few key tips to keep in mind. First, make sure to choose a frame that complements the overall aesthetic of your image. A sleek and modern frame can really make a contemporary photograph pop, while a more ornate frame can add a touch of elegance to a traditional image. Secondly, consider the matting of your photograph. A mat can help to create a sense of depth and dimension within the frame, and can also serve as a great way to add a pop of colour to your image. Finally, make sure to choose high-quality glass for your frame. UV-protective glass can help to protect your photograph from fading over time, and can also help to reduce glare and reflections.
10 Near Dedicated Printers
- Epson SureColor P400 - this is what I own and use, known as the P405 in Australia
- Canon imagePROGRAF PRO-1000
- HP Designjet Z9+
- Epson SureColor P700
- Canon imagePROGRAF PRO-1000s
- HP Designjet Z9+dr
- Canon PIXMA PRO-100
- Canon PIXMA PRO-200
- HP Envy Photo 7855
- Epson Expression Photo XP-15000
Note: This list is not exhaustive and may not be up-to-date. The exact models available may vary depending on your location and it's always a good idea to research and compare different models before making a purchase. Some of these will only be available on the second-hand market as they are no longer produced.
Download your free copy of my Landscape Photography Camera Setup Checklist
Even the most experienced photographers can ruin a photo with one small mistake. You spend all that time setting up your tripod and camera, but forget to check one thing and the photo is ruined.

